Showing posts with label military. Show all posts

Saturday, March 3, 2018

She's Back! What I've Been Up to Since 2015

Highlights from The Last Four Years


July 2015: I had a baby!  He's a sweet little handful, and doesn't give me much time to sew, much less blog about it.  Now that he's two and a half, I found myself once again with the time inclination. Here are a few hi lights of various costume projects from the last (nearly) three years.

I've been pretty solidly focused on my day job teaching costume design at an arts magnet high school, and our several productions a year, but I also have been expanding the 18th century millinery operation with my good friend, Ian Graves at Royal Blue Traders.

The sales of these caps and bonnets has been paying for my return to school in an effort to advance my professional credentials.  Thank you to all of our customers, and to Lauren Stowell at American Duchess for the shout-out back when the Hermoine was visiting Virginia in June, 2015.  She featured my shop in her article, The Versatile 18th Century Market Hat.  So thank you, Lauren.  I think I nearly exploded from a fan-girl squee attack when someone pointed it out to me.


Bottle Green Shot Silk Taffeta 1770s Robe A L'Anglaise

2015? My mom's bottle green shot silk taffeta  late 1770s robe a l'anglaise.  She is a tiny stick woman.  It didn't take much fabric.  Now, if only we could get her to wear an 18th century hair dressing...  At least I could convince her to wear stays.

My mom is not a reenactor, or even a historical costume enthusiast, but we do manage to get her to come to a winter ball here and there.  The last few years, my unit, the Ninth Regiment of Foot has hosted a ball at the Hartford Armory's Officer's Club.  Most of my work for myself since 2015 has been for this event, since I don't get the opportunity to dress as a lady too often.


Jan 2015:  Blue Silk Taffeta Shortgown and white striped silk organza petticoat.


 I was five months pregnant, and I wanted to go to the ball, but my options were somewhat limited.  I made a pair of maternity stays, and improvised with a button-front short gown.  The lighting at the Officer's Club isn't the greatest, so getting good photos with an iPhone is always a challenge.


February 2017: Brown Linen English Gown

Attempt #1 with Larkin and Smith's English Gown.  The 20+ page instruction booklet with the detailed photos and diagrams was extremely helpful, but I ended up with way too much volume in the sleeves.  Steph from Larkin and Smith helped me to set them properly when I ran into her at the New England Reenactor Fair in Sturbridge.  Overall, not bad for a first try, but I learned a lot with this gown that I was able to apply to two later versions.  More on this in greater detail later.  Also, American Duchess has a decent article on 18th century sleeve setting.  Setting 18th Century Sleeves the 18th Century Way


July 2017: Attempt #2:  Printed Cotton English Gown


July 2017: The Little One explores his first 18th Century Event with the Ninth Regiment of Foot.  We'll have you marching to the colors in no time, my boy.


Attempt #3: Jan 2018:  The Strawberry Cupcake


The fluffiest of pink cupcakes.  Larkin and Smith's English Gown in strawberry pink silk taffeta.  This  was my second attempt with the pattern, and sleeve issues were more under control, and the fit around the waist was much better.  I also had a lesson in how to pin a stomacher from Hallie and Steph which helped immensely.  Placing the pins horizontally makes all the difference, as does pinning the robing independently of the stomacher.

Caps, Bonnets, and my travels with Royal Blue Traders - The Northeast Reenactor Fair has been good to me these last few years.  Look for us in Portsmouth, NH at the Colonial Trade and Craft Fair at the end of March 2018.


Wednesday, February 19, 2014

Who Doesn't Love a Man in Uniform


The Ninth Regiment of Foot's first Midwinter Ball was a success, despite a certain amount of winter weather.  We had a great time dancing to the music of the Reel Thing.  Our dance caller, was superb, and we had a solid attendance.  We look forward to doing the event again next year.


This event was the debut of the 1770s Royal Navy uniform I made for a certain gentleman.  It was a long time coming, as components and materials were hard to come by, but over all, I am pleased with the results, and I think it was worth the wait.

There are 32 buttons and 32 hand-stitched buttonholes on this thing, and miles and miles of lace.  I ran out of the limited supply of one-inch navy lace from Burnley and Trowbridge, and had to continue with the half-inch lace I was able to get from Ian at Royal Blue Traders.

The result is a bit different from the 1780 portrait of young Nelson, but I'll take it.


Even though his young dance partner stole the show in her pink striped silk anglaise (made by me and her other fairy godmother… more on this later…), he was rather dashing  Too bad I forgot to put the hooks and eyes in the coat, so it hangs open more than I would like.

The wool is extremely thick.  Built to withstand the elements.  It's a wonder he was able to keep it on all night.

Future plans for this ensemble include replacing the waistcoat and doing a bit more fitting on the breeches.  The small clothes were made by G. Gedney Godwin, and the wool they are made of is to die for, and beautifully soft.  However, "made to measure" left something to be desired.  The waistcoat when it arrived was miles and miles too big, and had to be completely dismantled, re-cut, and put back together.  That was a bit of a nightmare considering the buttonholes were already sewn and cut, and could not be moved.  Furthermore, the buttons were too few, and to far apart.  The breeches were also too big, but easier to salvage.  I may ask to buy a yard of the wool they used and just make my own with a linen back.

The coat is fully double breasted, and has some cool alternate buttoning options.

This project was quite a learning experience, and if I ever fall on my head and decide to do another, it will go a bit smoother.

As a costumer, it is imperative that one keep trying things just a bit more difficult and complex than the project before it.  I look forward to the next one.

Wednesday, November 20, 2013

IXth of Foot Riding Habit

 I realize I have not updated since August.  The reason for my slacking is that I've been teaching costume design and costume instruction at a performing arts school.  A friend leaned over to me, and with a stage whisper asked, "Do they know they don't have to pay you to do that?

Life has been good.

There were a few fit issues to hammer out, and a lot of lace to hand-sew on, but we persevered.  The riding habit after this portrait of the scandalous Lady Worsley by Sir Joshua Reynolds painted in 1777 came out quite pleasing, in spite of some sleeve fitting issues.

To address the fit of the sleeves, I just pinned, marked, and went to town on the upper and lower sleeve pieces.

The debut of this outfit was supposed to be this year's reenactment of the Battle of Saratoga.  Unfortunately, our unit did not make it to the event.  I wore it to the Connecticut Renaissance Faire's pirate event to mixed reviews, but it's real debut ended up being a small Brigade of the American Revolution event at Putnam Park in Redding, CT.

It was my first event as a (female) civilian.  Normally, I wear a grubby ground-pounder's uniform and carry a musket for King and country.  The ladies of the Brigade were very kind and welcoming, though it was a bit strange to have to introduce myself to people I'd tangentially known for over a decade.

Being cast as the officer's wife in the little escort scenario was a tad bit awkward when the gentlemen failed to tell me one of the ladies I'd be berating for leaving the column was his real-life wife...  She was very good natured about it later.


Saturday, August 31, 2013

Nelson: Putting on the Lace

In order to achieve that "navy bro" popped collar, one-inch navy lace had to be attached to both sides of the lapels.  I acquired 6 yards of this lace from the lovely Angela of Burnley and Trowbridge, and she told me it had been made for a member of Britain's royal family, but had not been delivered due to some imperfections in the weave.  There were only about 12 inches that were not usable, so I worked around them.

I pinned the lace on both sides of the lapels in a kind of sandwich.  I stitched down one side, and then along the seam were the gold lace joins.


I used silk thread in a color that was very close to the color of the lace.

The next step is to stitch down the lace on the blue side of the lapel.  Stitching down the edge where the lace joins allows me to make a kind of bias tape, and fit it over the bulk of four layers of heavy coat wool.  The effect, i hope, will look polished and smart.

Next is attempt number three at lining.  Box pleats are the most hateful thing in the world.  Ian, of Royal Blue Traders concurs, and assures me this is why the open skirting on men's frock coats was developed in the 18th century.

I tried a two-piece lining like the one on my ladies riding habit, but it just didn't look right, so I ripped it out.  Round 3 I think, I will try something more like this:


 This is the Steampunk jacket I made last year and regrettably never blogged.  This way of lining pleats looks fantastic on the outside, but looks a bit messy on the inside.
 This is the inside of a knee-length sleeveless frock coat I made for a 7th sea costume.  This style only works when the garment is long enough to hide the fact that the pleats are a mirror image of each other.  I am leaning in the general direction of this style, but i think I will definitely do a a one-piece lining.


Saturday, June 8, 2013

IXth Riding Habit - Recutting Facings

I cut the facings way too narrow.  The buttons with the lace around them simply did not fit any way I tried it.  There was only one option left.  Ordering more fabric, and re-cutting all yellow parts.

Burnley and Trowbridge had a lovely yellow wool broadcloth for $25 a yard.  It's lighter than my original color, but still in theme.  I just used the IXth infantry grunt uniform for reference on the shape and width of the collar and facings.  It's much wider than my original eyeballing, and you can barely tell on the color difference.  Next up is handstitching buttonholes on the cuffs.  I double-layered them in the yellow wool, and they were too thick for my puny machine to handle.  I also added a buttonhole.  The IXth uniform description calls for four buttonholes on the sleeves, but it just looked more balanced with five.  Now I just have a lot of handsewing to do, and this project will be done.

Sunday, May 26, 2013

Back to you, Nelson

I had cut the facings of the riding habit too narrow, and I ran out of the yellow wool I had. Since the riding habit project is awaiting the arrival of a new yard of dark yellow wool before construction can continue, I turned back to the Nelson coat.  I really wanted to make sure the facings were a single piece so the collar could be popped like the portrait.


I attached the white wool for the facings like a lining. The two layers of blue wool that make up the collar are treated as a single piece. The white wool is then treated essentially as a lining and folded backward.  I mean to tack the actual cotton lining over all of it in the finishing process. In this instance, it seems easier to show than to tell.

 I've been waiting for parts, but I think I can tack the lining in before getting lace and buttons.


 The facings get folded back and buttoned in place eventually.  From portraits, it seems these vary in how wide they are.  Captain Cook's in the 1774 portrait are quite narrow.


Monday, May 13, 2013

IXth Riding Habit Lining and Lace


I got into attaching the lining to the project, and all hell broke loose.  Nothing was laying right, and I had cut the upper part of the lining almost two inches too short.  [Expletive.]  I frantically went through the scrap stash for the project, and hoped I had enough to cut out new lining pieces that were all one piece.  I had to do some creative piecing, and long story short, I am still not happy with it.  I may end up going for the two-piece lining again with a longer top piece. 


Trying to do a lining for the pleated skirting is something I have never had success with.  On longer things like gentlemen's frock coats, you can kind of fudge it, as the length hides the fact that the pleats aren't acting as one layer.  In something shorter like this, it just looks like it rides the short bus to school.  I think I may have to go back and figure out the two piece lining. It makes the pleats look really sharp. 
The collar and facings just didn't lay right.  I came to the conclusion that the interfacing was just too thick.  I am in the process of removing it.  Some of these issues will be resolved when the functioning buttonholes go into the collar and facings, but the lining should not be visible where the collar joins the rest of the coat.  I expect removing the thick canvas interlining will take care of that issue, but We'll find out.  I may have to rig up something where the lining is tacked down by hand around the collar.  That may work out better.  The difference between the weight of the wool and the silk is just problematic.


Adventures in Silver Mylar Lace

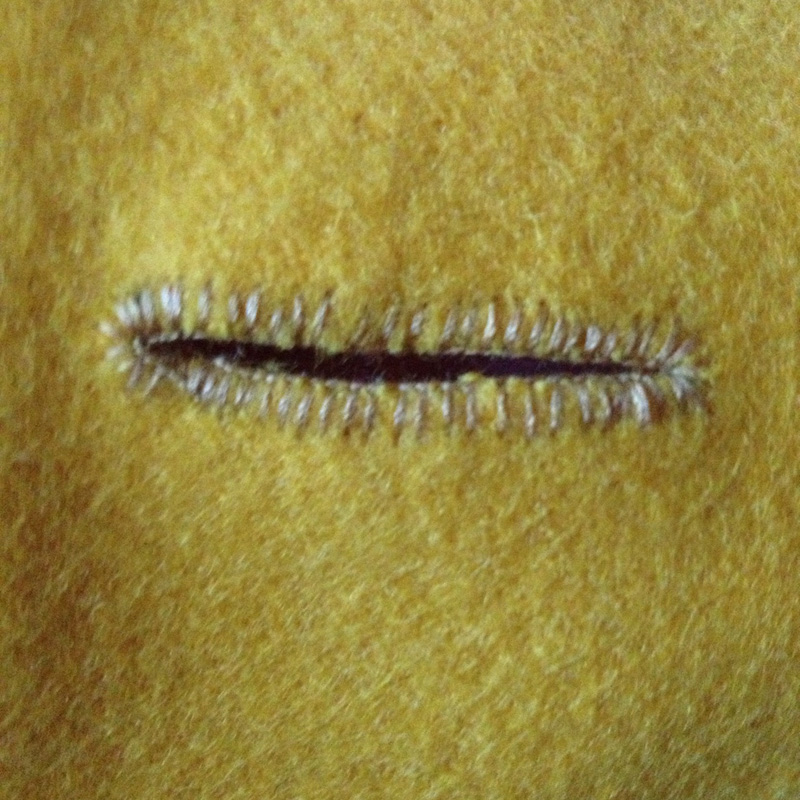
 The IXth enlisted lace is a worsted wool with a pair of navy blue pinstripes.  We have miles and miles of it stashed away, but for something like a ladies riding habit, I wanted to go with the officers lace.  I took a look at a few of the rectangles of the enlisted lace to figure out how they were constructed, and determined that it was much easier to show than it was to tell.  Everyone I asked had a slightly different way of doing it, including using some kind of interfacing for the construction process, or anti fray goo.  I didn't want to muck up the expensive silver lace, so I did a little experimentation using it in its original form, un-backed.  It frayed very badly, and looked awful.  Eventually, I figured out doing a quick buttonhole stitch in silk thread on the edges of each strip saved me a lot of headaches, frustration and lace.


Sunday, April 28, 2013

IXth of Foot Riding Habit

The inspiration: In part, this project was inspired by a BAR event in September.  BAR events do not allow women in uniform, so I guess this is my quiet, and stylish way to stick it to 'em.  I envisioned a riding habit styled after the IXth of Foot uniform.   I started with a portrait by Sir Joshua Reynolds of Lady Worsley, completed 1776 and currently hanging in the Earl and Countess of Harewood, Harewood House, Yorkshire.

I also came across photos of  Merja Palkivaara's riding habit on her blog, Before the Automobile, and I fell in love.  I had to have one, but I wanted mine to follow the regimental colors and lace pattern of the IXth of Foot, my reenacting unit.  Dressing in this fashion was made popular by Georgiana Spencer, the ever fabulous Duchess of Devonshire in the 1770s.


The Fabrics: I started with red worsted wool from Burnley and Trowbridge that is perfect in all ways and absolutely striking.  It's a twill weave, and much deeper in color than the picture lets on.

The lining is silk taffeta in a beautiful ivory that I acquired from Osgood Textile in West Springfield.  I found some lovely silk for the waistcoat there as well.   The gold wool is leftover from the first run of IXth uniforms from the early 2000s.


The pattern: Mill Farm 15: Woman's Riding Habit Jacket and Waistcoat, according to Old Time Patterns, suitable for 1760 - 1780.  I modified this pattern heavily for the cut-away, and the pointed waistcoat.  The waistcoat that comes with the pattern is the more traditional men's style 1770s waistcoat.  I ordered size 12-14 based on my measurements, but the pattern does not differentiate between 12 and 14.  It simply states 12 will fit loosely, and 14 will "just" fit.  I always work from a mock up, so I wasn't super worried.

The pattern has a dart across the bust that I omitted in fitting to accommodate shaping for the cut-away., and my alterations left little skirting on the front, so I'm not sure I will end up being able to do a pocket.  I may still try to place a faux pocket flap just for style.


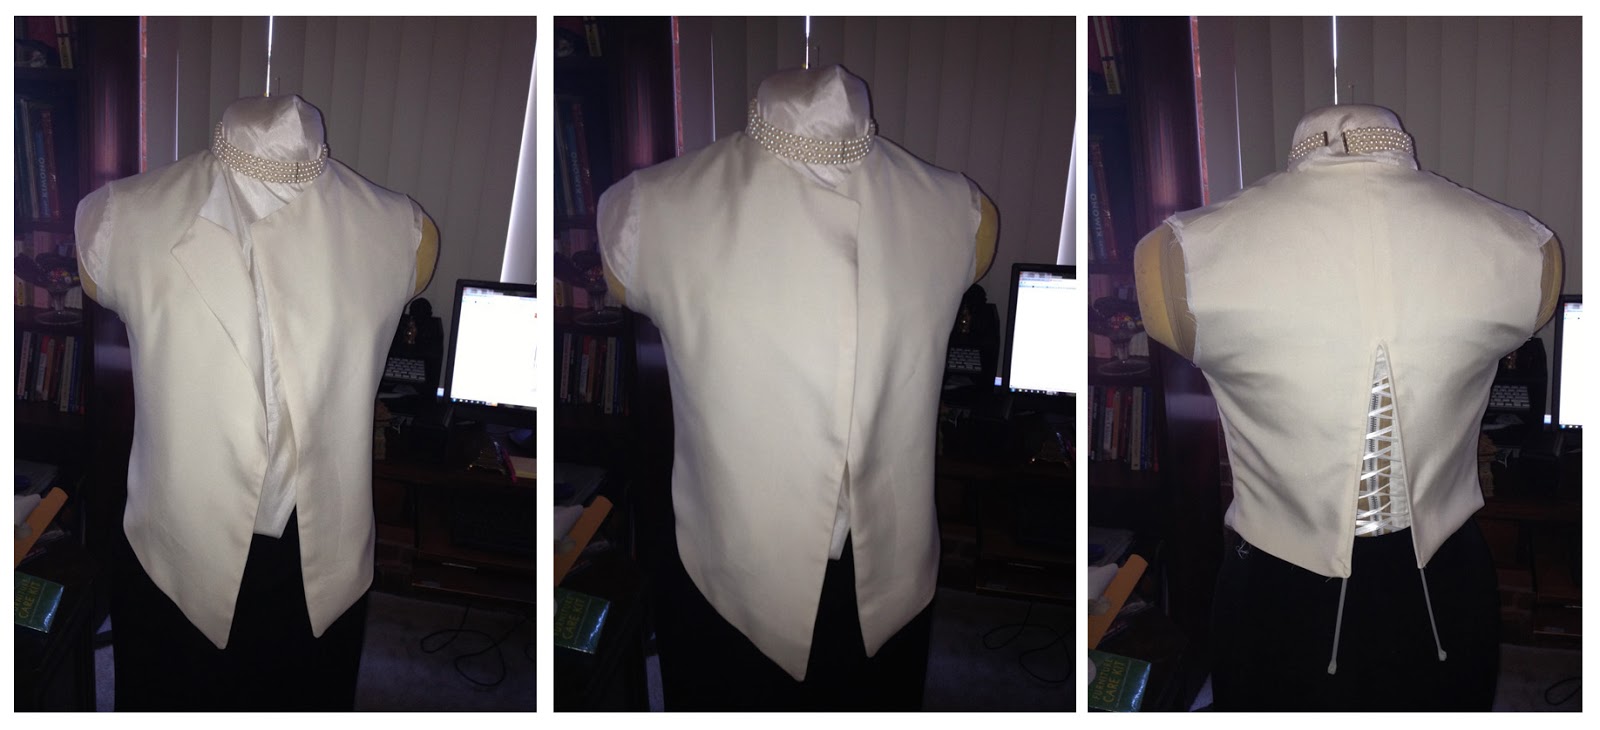
Waistcoat: Take One: I used two light weight cable ties to brace the back seam for lacing.  When I tried it on, I decided I did not like how the the upper chest looked around the bust line, so I trimmed it down.


Waistcoat: Take Two: I made more of a V shape.  It reduces much of the fitting issues.  It will also make room for the cotton voile habit shirt and silk cravat fluffities


Progress:  Looking a bit more sharp and put together. I ended up taking the pattern mock-up in considerably at the waist to create the cut-away shape. The idea is to have it all link up with one hook and eye closure

 I cut out the lining in two pieces - skirting, and everything above the waist.  My intention is to avoid the obnoxious problems that arise when trying to line box pleats.  I think I may be on to something here.

I treated the lining and the fashion fabric as one pieces, and stitched the pleats in place.  The idea is to attach the rest of the lining over it, hiding the business part of the pleating.

Constructing the Facings and Collar:  Using my grungy IXth infantry grunt uniform as a starting point, I free-handed and eye-balled the facing shapes.


I traced the shape of the facings, and just sketched with a pencil on the yellow wool until I had an approximate.  Attaching the facings will be a bit different from the construction of the actual private's uniform.  I intend to make it a bit less rough around the edges, as these facings are just tacked on the top.  I'm still cooking up construction ideas.

Getting there.  I got the cuffs, collars and facings out of the one scrap of yellow wool.

The plan is to follow the lace placement patterns of the IXth uniform with silver mylar lace and fancy buttons.  The collar will be interlined with cotton duck cloth I had lying around.  I looked for horsehair fabric online, but was not quite sure what I needed.

Next up are some more tweaks to the waistcoat length and the jacket flaps.  I think I need to order the lace and apply it to the cuffs and facings before proceeding much further.

Thursday, February 21, 2013

18th Century Naval Inspiration

From the National Maritime Museum, Greenwich, London, Royal United Service Institution Collection

Object ID: UNI0011, circa 1774

Full dress frock coat of a Captain. The frock is of blue wool with button back lapels faced with white and edged with gold lace. Although it is possible to wear the coat with the lapels partially buttoned across the chest, there are also three hook and eye fastenings so that the coat can be closed without unbuttoning the lapels. The neckband is also edged with gold lace. The skirts are not as full as those of the late 1740s. The back vent is still edged with gold lace, as is the pocket, and the three decorative faux buttonholes on either side of the back vent are still retained.

 The details on this sleeve is stunning, and you can clearly see the anchor buttons.  The shot of the front has provided the much-needed detail on how many buttons up the front as well as the shape of the pockets.

I must confess, I am a little afraid of making the pleating on the coat's skirt fall correctly.  I will need to examine mine and see what's what with construction.  The JP Ryan pattern did have directions for it, but I am not confident.

Seeing the pattern of the lace on the back is daunting.  It is breathtakingly gorgeous, and I'm sure I will need something like 20 yards of the lace.

The next step for me is to iron, and cut out the lining.  I am still waiting for the white wool for the facings to come in.  I haven't even ordered the buttons or the lace. 

1. Lining
2. Construction of the back pleating/vents
3. Attach the lining/facings
4. Buttonholes
5. Lace
6. Buttons
7. Done.

Tuesday, February 19, 2013

Nelson: Sleeve Details

I have been combing the internet for images to help with sleeve and trim detailing.  I found a few portraits from the Revolutionary War years, and a few before. I'm going to try to recreate Nelson as best as possible, but the 1775 portrait of Captain James Cook (1728-1779) by Nathaniel Dance-Holland at the National Maritime Museum had the best angle for understanding how the lace is layered and folded. - http://www.nmm.ac.uk/explore/collections/by-type/uniforms/. 

I have ordered white wool for facings from a seller on Etsy named Gabriel Everson - http://www.etsy.com/shop/ThePeriodTailor.  I have white muslin for lining.  In the next couple of months, 50 buttons from Military Heritage.  It's going to be about $107 plus shipping for the buttons, so we will need to do some strategic spacing out.   I really do think all of this persnickety attention to detail will pay off, and when it hits the ballroom next winter, everyone will be awed.
 

Thursday, February 14, 2013

Gold Lace

After crowdsourcing this one on Facebook, I came up with a better lace option.

From the website: http://www.militaryheritage.com/militarybraid.htmhttp://www.militaryheritage.com/militarybraid.htm - 1 inch (25 mm) Gold Metal Navy Braid for Royal, British Commonwealth and U.S. Navy uniforms and decorative trimmings.  This is excellent quality metal wire lace and is often sold for many times this price.   This pattern is the Royal Navy double vellum (Orris) was used for the past 250 years.  1 inch lace was used on Captain and Admiral coats.  In addition the American Naval officers in 1812 were often portrayed with this pattern of lace as well.

This is the lace that appears in the portrait of Nelson., one inch wide.  It is a bit pricey, but I think it will be worth it.